MAKING
SEXY OF PIRANHA
watercolor-style treatment
The recent
colorations of my Big
Piranha image have garnered requests for a "how
to". Here is a quick stab at such.
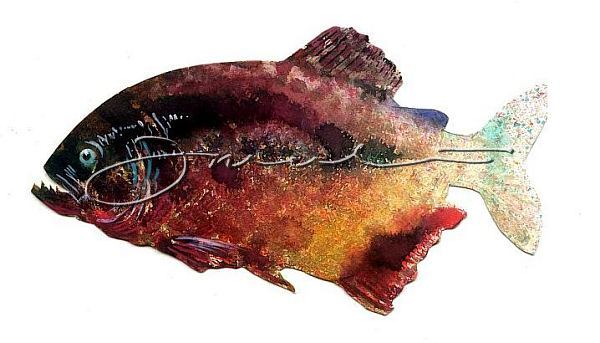
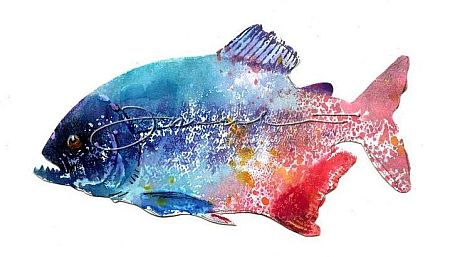
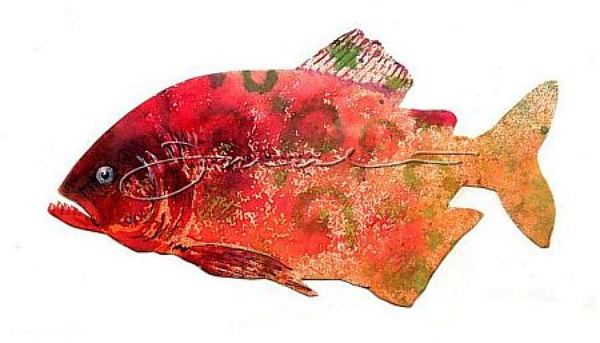
I first cut a paper stencil of the overall shape to be used as
a cropping tool over some scrap papers left over
from "The Elegant Mess"
classes.
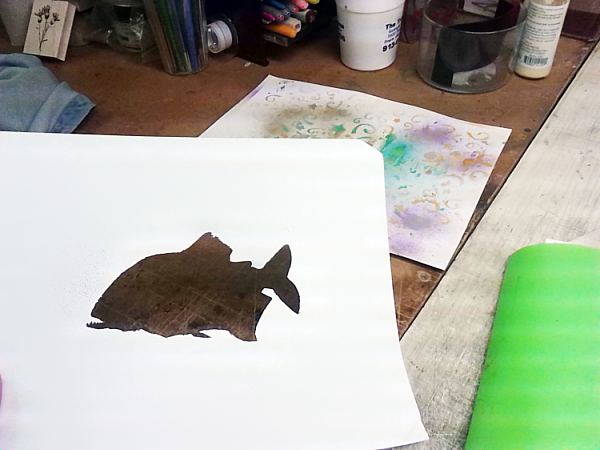
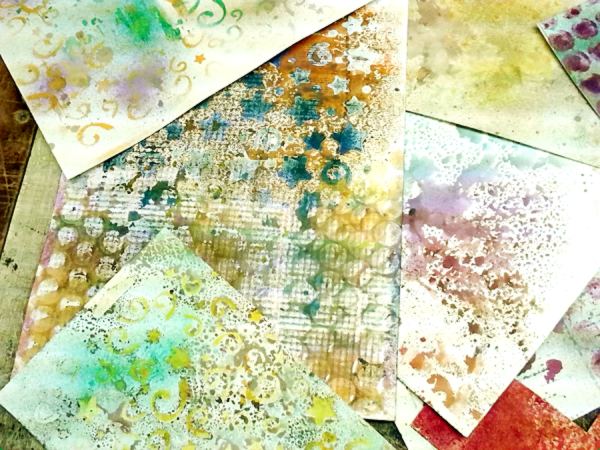
The mask helped me determine the location of the most
desirable treatment from any one swatch. You can see
were I outlined the form on these swatches.
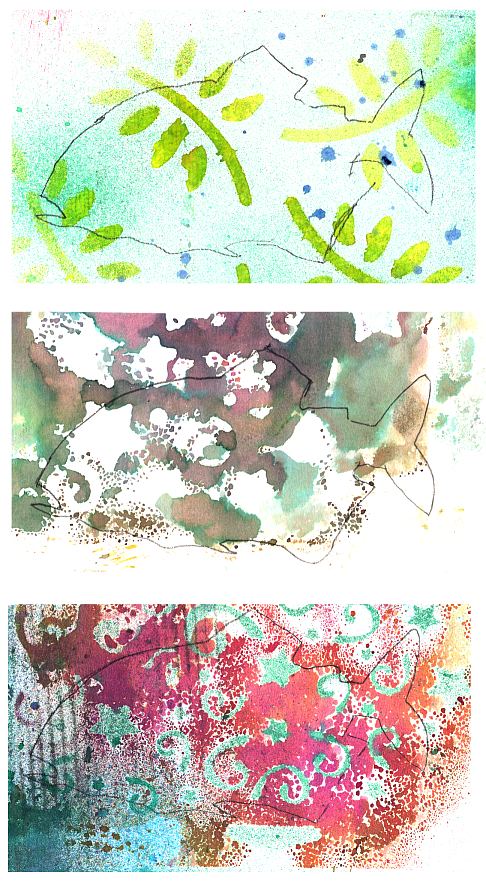
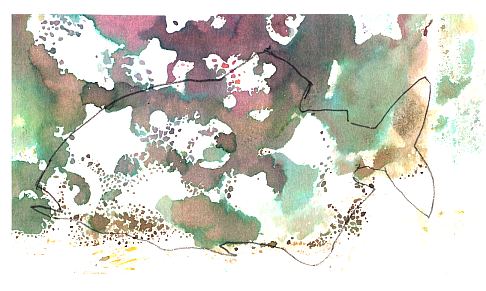
Here's the one I chose to work with for this example.
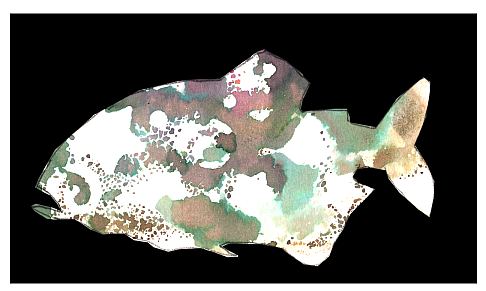
...and by way of further clarification, here's what the
interior of the piranha shape would look like if removed from
its context.
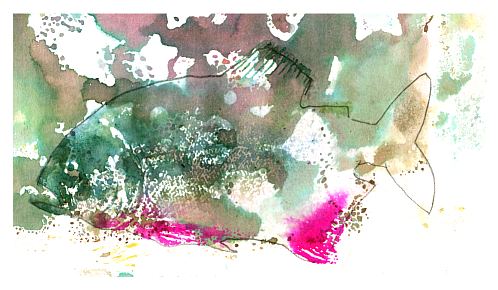
Next, I used a positioner
to align my stamp over this shape. I then inked the
stamp with water-based markers to add blue-greenish color to
the head and top, and magenta to the lower fins as indicated
here.
The colors on the rubber were lightly spritzed
and when pressed to the paper, here's the result.
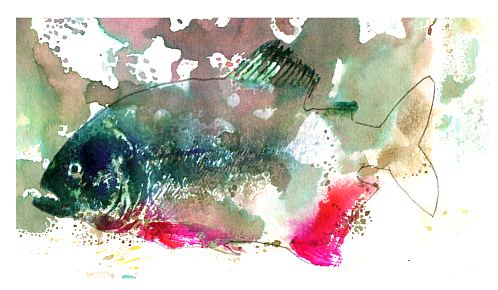
After the image dried a bit, more color was added to deepen
the value in the head and expand the color palette in the
fins.
Detail was lightly added to the head with markers and pen, and
shape added to the eye.
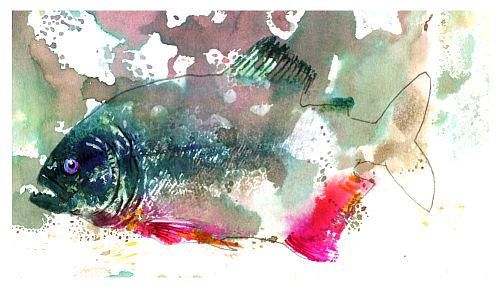
At this point, I felt it was done.
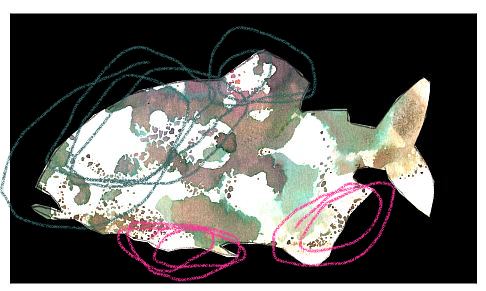
If cut from it's context or surroundings, this is what the
final image would look like.
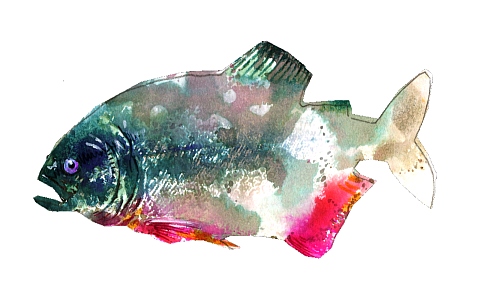
It would now be possible to take that cut out and glue onto
other backgrounds. Here just a simple black background
with texturing makes this image jump off the page.
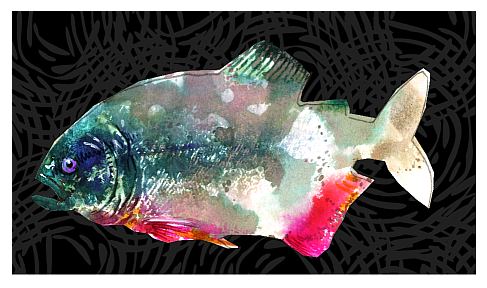
....and there ya go.
Have fun out there. And play on!
copyright © 2014 Fred B. Mullett
|
|
